Brass has a reputation as the easiest metal to machine, and there is a grain of truth in it: it cuts quickly, breaks its own chips, and does not work-harden the way stainless does. But the reputation is built on one specific alloy — free-cutting brass — and it quietly falls apart the moment a drawing calls for a lead-free grade, a thin wall, or a cosmetic surface. Soft, sticky, and highly ductile, brass has its own failure modes. The cutter smears instead of shears, the part bends in the vise, the burr rolls over the edge and has to be scraped off by hand. This guide separates what is actually easy about brass from what just looks easy, and lays out the speeds, feeds, tool geometry, and clamping choices that get a clean part off the machine without a second touch-up operation.
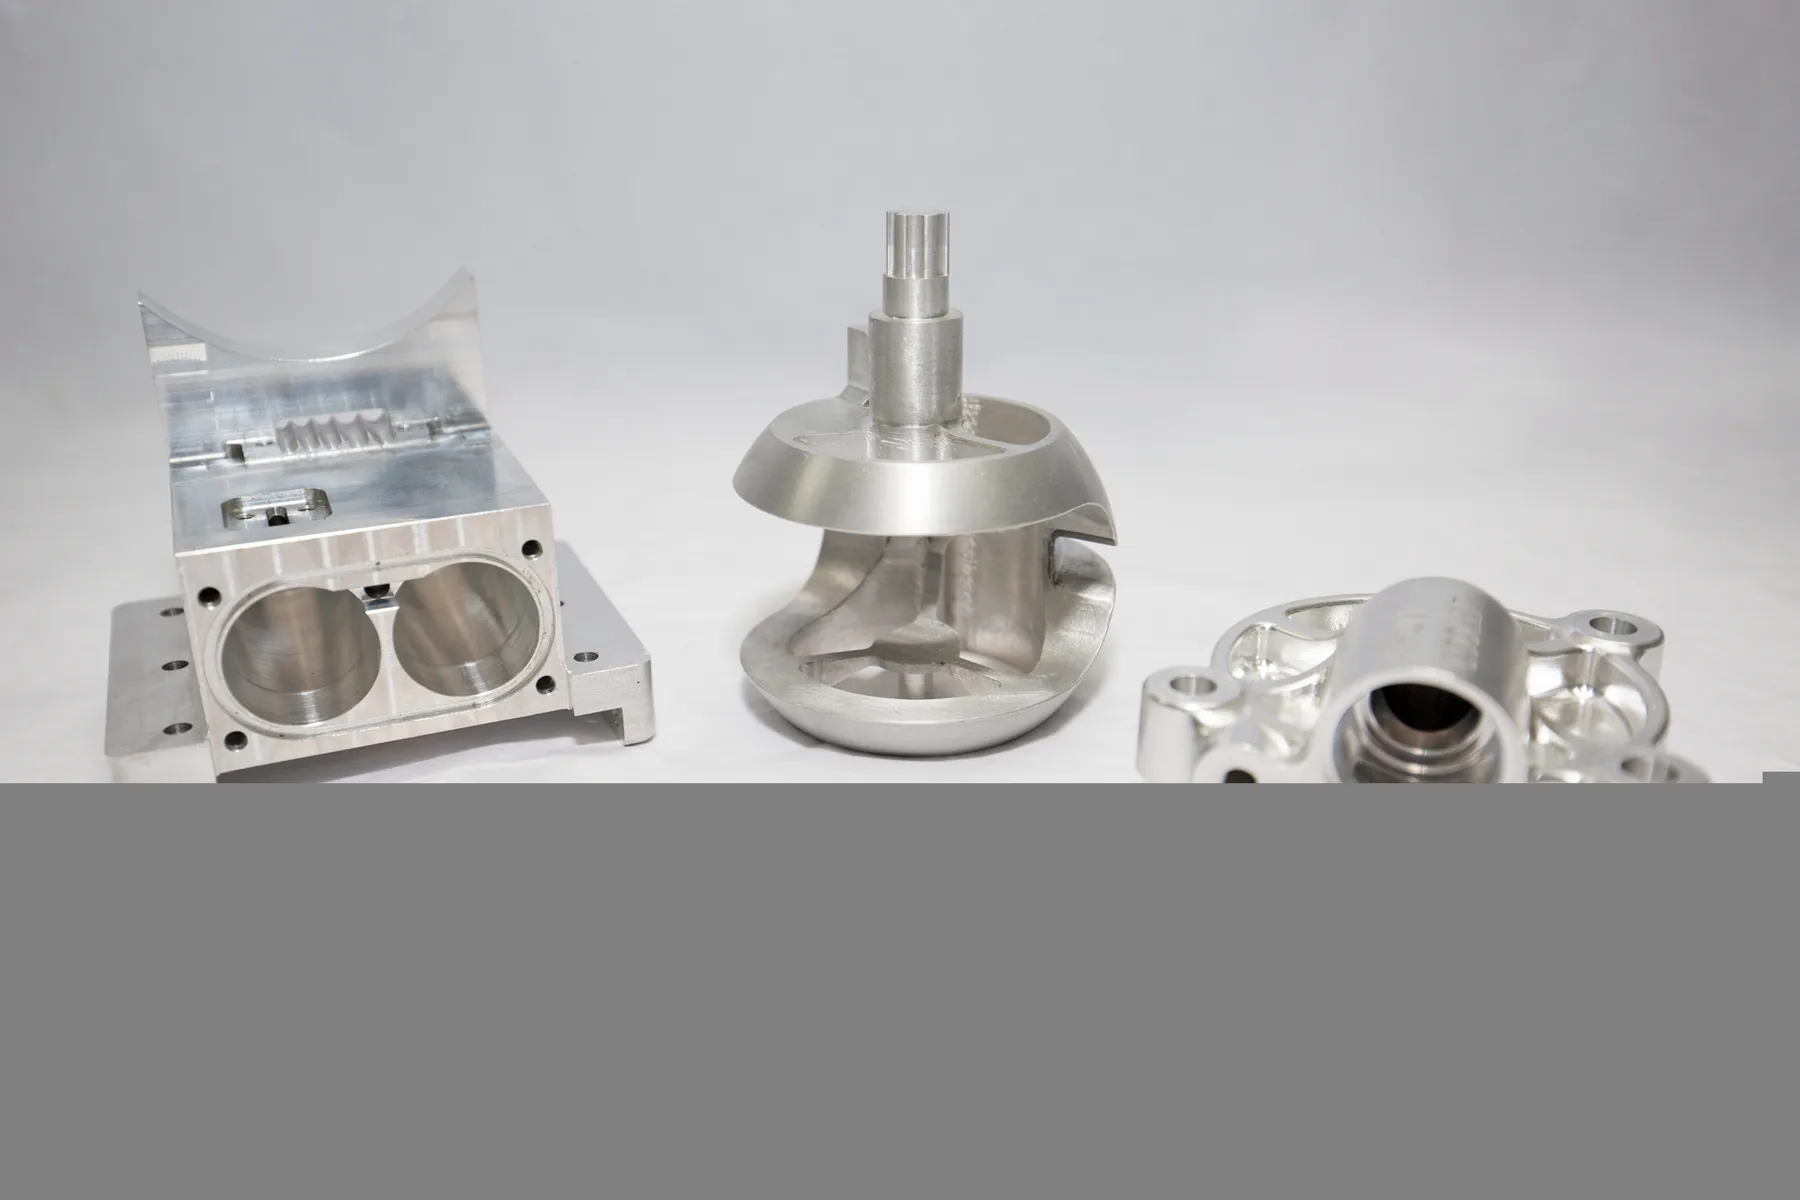
Why brass cuts fast — and where the reputation breaks down
Brass is a copper-zinc alloy, and its machining behavior comes mostly from what the zinc does to the crystal structure. The machinable grades form short, brittle chips that snap off cleanly instead of wrapping around the tool, which is why a lathe can run brass at surface speeds that would burn up a steel tool in minutes. There is no work-hardening front chasing the cutter, and thermal conductivity is high enough that the heat leaves with the chip rather than soaking into the edge. All of that is real, and it means brass genuinely belongs at the fast end of the feeds-and-speeds table.
The problem is that "brass" is not one material. It is a family that runs from the free-cutting C360 — deliberately alloyed to machine easily — down to tough, gummy grades like naval brass and cartridge brass, which cut more like soft steel and smear on a dull edge. Two jobs can both say "brass" on the drawing and need completely different tooling and parameters. The machinist who treats every brass the same is the one who leaves fine lines and torn edges on a part that should have come off looking polished. The first job, before touching a tool, is to know which brass is actually in the machine.
Free-cutting brass versus lead-free brass
The single most important split in brass machining is between the leaded free-cutting grades and the lead-free grades, because lead is the ingredient that makes brass easy to cut and it is exactly the ingredient that more and more drawings ban. C360, the classic free-machining brass, carries a few percent lead dispersed through the alloy. The lead acts as a built-in lubricant and a chip breaker: it lubricates the cutting edge, lowers friction, and interrupts the chip so it breaks short instead of stringing. That is why C360 runs faster, leaves a better finish, and needs less maintenance than almost any other copper alloy.
Lead-free brass — grades like C69300, often sold as an eco-brass, or the more common C464 naval brass and C260 cartridge brass — removes the lead and gives the machinist the harder job. Without the lead, the chip does not break as readily, the material is gummier, and the edge loads up faster. Lead-free alloys still cut faster than steel, but they demand sharper tools, tighter chip-breaking control, and more care with feed rate. The trade-off is not a reason to avoid them; lead-free brass is often required by drinking-water and plumbing standards, and it is not going away. It is a reason to plan the process differently. The table below is the working comparison.
| Alloy | Typical use | Machinability | Chip behavior | Tooling note |
|---|---|---|---|---|
| C360 free-cutting | Fittings, valves, threaded parts | Excellent | Short, brittle | Standard sharp tooling, high speeds |
| C69300 eco-brass | Potable water, lead-free fittings | Very good | Short, manageable | Sharp edge, watch edge build-up |
| C464 naval brass | Marine hardware, shafts | Fair | Longer, stringy | Positive rake, chip breaker needed |
| C260 cartridge brass | Shells, decorative, deep drawn | Fair | Soft, ductile | Sharpest edge, low force |
The pattern is simple: the better a brass machines, the more likely it carries lead. The less lead it carries, the more the process has to make up the difference with sharper tools and more deliberate chip control.
Speeds and feeds: the smear problem
Brass rewards high surface speed, but only while the edge is sharp enough to actually cut. Because the material is soft and ductile, a dull or rubbing edge stops shearing the metal and starts pushing it, and pushed brass smears — it tears and folds instead of cutting, leaving a ragged, shiny surface that looks worse than a properly cut one and is far harder to fix. The practical rule is that brass can run at surface speeds several times higher than steel on the same tooling, but the feed rate has to stay high enough to keep a real chip in front of the edge. Feed too slowly and the tool rubs; feed too fast and thin features and small diameters deflect.
The useful starting range for free-cutting brass on a carbide tool is a surface speed roughly in the mid-hundreds of feet per minute for turning and milling, with the feed scaled to the feature — heavier for roughing a solid bar, lighter for a thin fin or a fine thread. These are starting points, not guarantees: the exact numbers come from the machine, the stickout, and the specific grade, and they should be dialed in against the chips and the finish rather than taken off a table as gospel. What matters more than the absolute number is keeping the edge sharp and the chip moving, because a fast spindle with a dull tool just smears the part faster. For a lead-free grade, back the speed down and keep the feed up, and expect to change tools sooner.
Tool geometry for a soft, sticky metal
Brass wants the opposite of what tough alloys want. Where stainless and titanium reward tough coated edges and conservative geometry, brass wants a sharp, highly positive edge with generous clearance, and usually no coating at all. An uncoated, polished carbide edge stays sharper and slides through the soft material better than a coated edge whose coating is designed for heat and wear resistance rather than sharpness. High positive rake angles slice the material and throw the chip away from the part instead of bulldozing it, and a large relief angle keeps the soft metal from rubbing on the flank and welding to the tool.
Drills and taps follow the same logic. A brass drill works best with a thin web, a large helix angle, and polished flutes, so the chip lifts and evacuates cleanly instead of packing in the hole. Tapping free-cutting brass is one of the rare places where cutting is genuinely forgiving — the short chip clears the flutes and the lead lubricates the thread — but a lead-free brass can gall and seize on a dull or wrong-sized tap, so tap drill size and lubrication matter more there. The tooling rule is consistent across every operation: sharp, positive, uncoated, and replaced before it dulls, because the cost of a dull edge in brass is a smeared, scrapped part, not a slower one.
Chips, burrs, and edge quality
Brass chips are short, which is a blessing for evacuation, but brass is also one of the worst materials for burrs. The same ductility that makes the material easy to cut means the edge rolls over and hangs on instead of breaking away cleanly. A sharp tool and the right parameters reduce burrs but rarely eliminate them on a threaded hole or a corner, so the process has to plan for them. The standard fixes are a deliberate edge break on the drawing, a chamfer before tapping so the thread starts clean, and a deburring pass that is scheduled rather than discovered after the part is already scratched.
Edge quality is where brass parts are often judged, because so many brass parts are cosmetic or customer-facing — fittings, connectors, decorative hardware. A rolled burr on a thread or a torn edge on a flange is visible and feels sharp, and it is exactly what separates a machined brass part from a "brass" part that just came off a rough lathe. The cheapest insurance is to break the edge in the same setup, before the part is ever handled, and to specify the finish on the drawing so the shop knows whether the edge needs to be crisp or softened.
Workholding and clamping without distortion
Brass is soft enough that a heavy-handed clamp will mark it, and thin sections will flex under cutting force, which throws off dimensions on a part that was otherwise cutting beautifully. The workholding rule for brass is to hold it firmly enough to stop vibration and no harder, and to distribute the clamping force over the widest practical area. Soft jaws, machined to the part profile, do most of the work: they spread the load, protect the surface, and keep round parts round. A standard hard jaw biting into a brass tube or a threaded fitting will leave a witness mark and can egg the bore out of round.
The same care applies to thin walls and small features. Because brass cuts with low force, a thin brass wall can often be machined without the elaborate support a steel part would need, but the feed and the depth have to stay light enough that the wall does not sing. Cutting brass too hard is usually the root cause of both the distortion and the burr problems at once — the soft metal tells you, in the finish, when the process is pushing too hard. Back the engagement down, keep the tool sharp, and the part comes off straight and clean.
- Identify the alloy before setting parameters. Free-cutting C360 and lead-free grades need different speeds, tools, and chip control.
- Keep the edge sharp and uncoated. A polished positive-rake carbide edge shears brass; a dull edge smears it.
- Run high surface speed but keep the feed up so the tool keeps cutting instead of rubbing and folding the metal.
- Use high positive rake and large clearance so soft brass does not rub the flank and weld to the tool.
- Plan for burrs on the drawing, not after the part is scratched — chamfer before tapping and break edges in the same setup.
- Clamp with soft jaws or machined profiles to spread the load and protect the surface and the bore.
- Back the engagement down on thin walls, and read the finish — a torn surface means the process is pushing too hard.
- Change tools before they dull. In brass, a dull edge costs a scrapped part, not just a slower cycle.
"Brass does not fight the cutter the way steel does, but it punishes a lazy process just the same. The metal tells you everything in the finish — a crisp, bright surface means the edge was sharp and the feed was right; a smeared, torn one means the tool was rubbing. Cut brass the way the alloy asks to be cut, and the part comes off fast, clean, and nearly finished. Ignore which brass it is, and the easiest material in the shop becomes a slow, frustrating one."
Brass earns its easy reputation only when the process is matched to the specific alloy and the specific feature. Know whether the drawing calls for free-cutting or lead-free, keep the edge sharp and the geometry positive, run the feed high enough to cut rather than rub, and hold the part firmly but gently — and brass will turn in the fast cycle times it is famous for, with a surface that needs no apology.
If you are quoting a brass part and want the tooling and the edge breaks planned before the first cut, send the drawing over and we will walk the process through with you, from the material grade to the turning and milling setup that keeps the finish clean.