A drill that is a millimeter across behaves nothing like a drill that is ten millimeters across, and most of what a machinist knows about drilling quietly stops applying as the diameter shrinks. The failure modes change: a micro drill does not dull gradually the way a large drill does, it snaps without warning, usually at the moment it is about to break through the far side of the part. The forces involved are tiny, but the stiffness of the tool is tinier still, and that mismatch — a load the material hardly feels against a tool that cannot bend and recover — is the entire discipline of micro hole drilling. This guide covers the geometry, runout, pecking, and chip-control decisions that keep a sub-millimeter drill alive, because once you understand why a micro drill breaks, the way to stop it is no longer a guess.
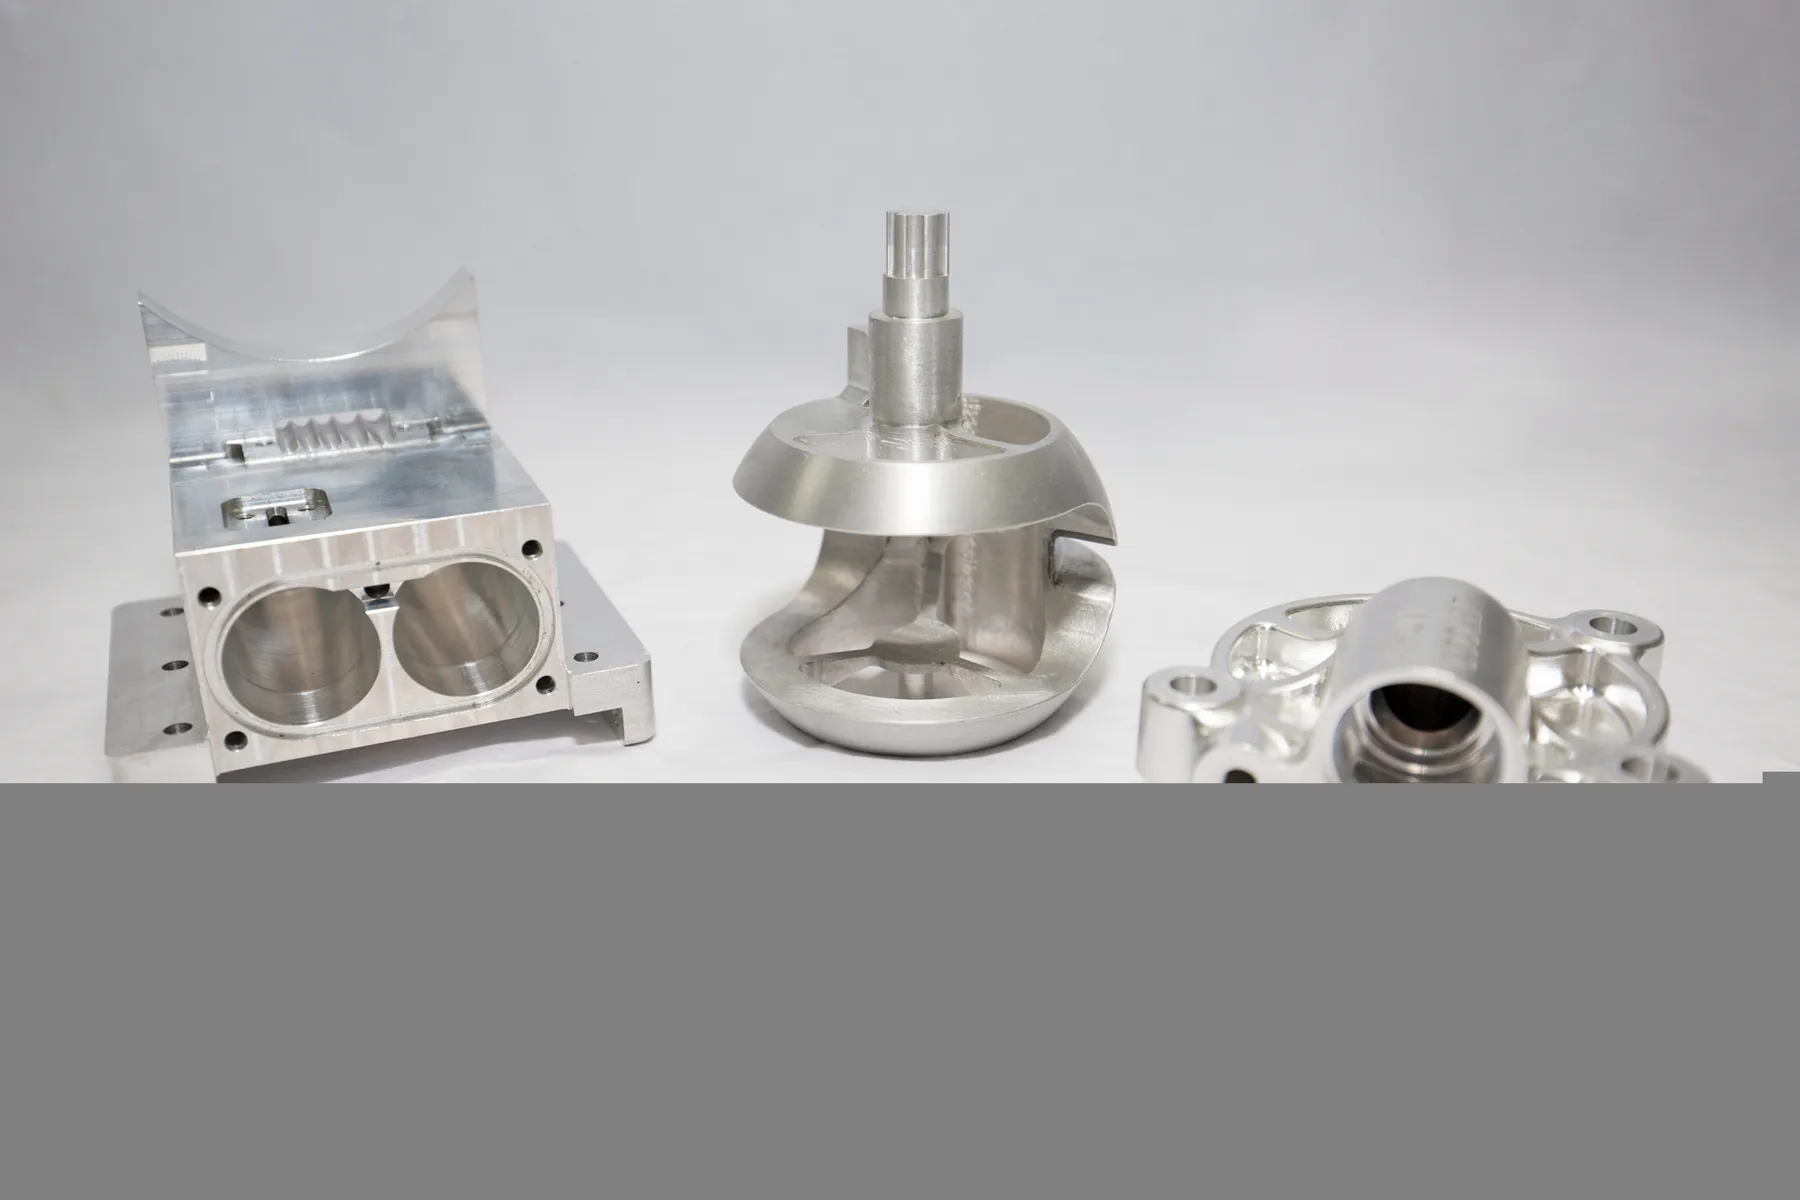
Why a small drill fails differently than a large one
Scale is not neutral in drilling. As a drill's diameter shrinks, its stiffness falls with the fourth power of the diameter, so a drill half the size is roughly sixteen times more flexible. The cutting forces, by contrast, fall only roughly with the square of the diameter. The result is that the ratio of load to stiffness gets worse as the drill gets smaller — a micro drill is proportionally far more flexible than a large one, and a deflection that a large drill would shrug off is enough to snap a small one outright.
This changes how you think about every parameter. On a large drill, you worry about heat, wear, and surface finish. On a micro drill, the primary worry is survival, and the secondary worry is hole quality, which itself depends on survival: a micro drill that is wandering or rubbing produces a hole that is oversized, bell-mouthed, or off-position long before the tool finally breaks. Runout, which barely matters to a 10 mm drill, becomes the single biggest killer of a 0.5 mm drill, because a few microns of eccentricity at that scale is a meaningful fraction of the tool's own diameter.
Geometry and material — the tool has no headroom
The tooling decision is made for you, mostly. Micro drills are effectively always solid carbide, because high-speed steel simply cannot hold a usable edge at these sizes, and the edge must be ground to a geometry that keeps the cutting forces axial and balanced. A proper micro drill has a split point or a similar self-centering grind, because a conventional chisel edge at this scale does not cut, it just rubs, and rubbing is what pushes a micro drill off its axis and breaks it.
Web thickness matters more than on large drills. A micro drill needs a thick enough web to keep its stiffness, but a thicker web means a longer chisel edge, which means more thrust and more tendency to wander. The better micro drills resolve this with a geometry that thins the point — a split point, a notched point, or a four-facet grind — so the tool stays stiff in the body while presenting a sharp, self-centering tip at the point. Coating is a secondary lever: a low-friction coating helps chip evacuation and resists built-up edge, but it cannot rescue a drill with the wrong geometry or a worn holder, so it is the last thing to optimize, not the first.
| Factor | Effect at micro scale | What it means for the job |
|---|---|---|
| Runout | Microns of eccentricity are a large fraction of diameter | The single biggest killer — check the holder and spindle first |
| Point geometry | Conventional chisel rubs instead of cuts | Use a split or self-centering point to hold axis |
| Feed rate | Too light means rub; too heavy means snap | Feed must stay engaged but within the chip load limit |
| Peck depth | Chips have nowhere to go in a tiny hole | Short pecks clear chips before they pack and snap the tool |
| Spindle speed | Small diameter needs high rpm to keep surface speed | Watch the machine's real rpm ceiling, not the theoretical |
| Breakthrough | Far side exit is the most common snap point | Reduce feed at the exit, back the part with a stop |
Runout, speed, and the spindle that cannot keep up
Runout is where most micro drilling jobs are won or lost before the first hole. A micro drill is unforgiving of any eccentricity in the holder, the collet, or the spindle itself, so the first step is to measure runout at the tool tip, not trust the holder's specification. A shrink-fit or a dedicated high-precision holder is usually required, and even a good holder will not save a spindle with a few microns of its own runout. The rule is to check runout at the working length, because runout grows with stickout, and to keep the tool as short as the hole depth allows.
Spindle speed is the second trap. A small diameter needs a high rpm to maintain a sensible surface speed, and the theoretical number is often above what the machine can actually sustain. When the spindle cannot reach the required rpm, the drill runs at a surface speed that is too low, and a too-low surface speed on a micro drill does not just slow the cut — it increases the thrust force and the tendency to wander and snap. The realistic fix is to accept the machine's ceiling and reduce the feed to match, or to choose a geometry and coating that tolerate the lower surface speed, rather than pretending the machine spins faster than it does.
Pecking and chip control — the chip is the enemy
The chip is the single most common cause of a micro drill break. A micro drill cuts a hole barely wider than itself, and the flute of a sub-millimeter drill is a thin channel that clogs almost immediately if chips are not cleared. Once a chip packs in the flute, the drill can no longer evacuate, the thrust force spikes, and the tool snaps — usually at the bottom of a peck, where the packed chip is wedged between the tool and the hole wall. This is why micro drilling leans hard on pecking: a short, frequent peck pulls the tool out of the hole, lets the chips drop or be flushed, and gives the cutting edge a moment to cool.
Peck depth has to scale with the diameter. A peck of a couple of times the diameter is a common starting point for deep micro holes, tightened or loosened by the material and the aspect ratio. Coolant or air directed into the hole is a strong complement, but it has to reach the bottom — a stream that only wets the mouth of a deep micro hole does nothing for the packed chips at the tip. On the deepest holes, the practical approach is a stepped sequence: start with a shorter, stiffer drill to establish a straight entry, then follow with the long, full-depth drill, so the second tool never has to both locate and cut at full depth at once.
Breakthrough, depth control, and holding position
The far side of the part is where micro drills die most often. As the point begins to exit, the material still in front of the tip thins and suddenly loses support, the cutting forces drop, and the drill — still being fed at full rate — lunges forward, grabs, and snaps. The standard countermeasure is to reduce the feed for the last part of the hole, and to support the exit with a backer or a stop wherever the design allows, so the material on the far side does not simply tear away.
Holding position and diameter on a micro hole is as much about the setup as the drill. Because the tool is flexible, any tilt in the entry surface or any mismatch in the machine's tram will show up as a hole that starts off-axis and then runs out of position or out of round. Spotting with a rigid center drill or a short spotting tool before the micro drill enters gives the point a clean, perpendicular start, which keeps the drill from walking. Depth control matters too, because a micro hole often has a functional depth — a blind hole that must not break through a thin floor — and a few hundred microns of overtravel is the difference between a good part and scrap.
- Check runout at the tool tip first — microns of eccentricity are fatal at micro scale.
- Use a self-centering point — a conventional chisel rubs and walks off-axis.
- Keep the tool as short as the depth allows — runout and deflection grow with stickout.
- Peck short and often — a packed chip is the most common cause of a snap.
- Reduce feed at breakthrough — the far-side exit is the classic break point.
- Spot before you drill — a clean, perpendicular start stops the point from walking.
- Match the feed to the real spindle ceiling — do not run a too-low surface speed and expect it to hold.
"A micro drill does not warn you the way a big one does. It runs fine, and then it does not run at all, because it snapped at the one place every micro drill is weakest: the far side of the hole. The craft is to remove every reason for that snap before it happens — runout checked at the tip, a point that centers itself, chips that never get a chance to pack, and a feed that eases off just before breakthrough. Get those four things right and a sub-millimeter hole is no more fragile than a ten-millimeter one. Get any one of them wrong and you will be fishing a broken drill out of a finished part."
Micro hole drilling is a stiffness problem wearing a cutting problem's clothes. The tool is so flexible, and the load so inescapable, that every decision has to be aimed at keeping the drill straight, the chip moving, and the force steady. Check the runout at the working tip, choose a self-centering geometry, keep the stickout short, peck to clear the chip, and ease the feed at breakthrough — and a hole measured in tenths of a millimeter comes out on size and on position just like any other feature. Skip those steps and the drill will tell you, instantly and expensively, exactly where you cut the corner.
If you have a part with small or deep holes — a fuel orifice, a sensor port, a nozzle, a manifold passage, or any feature that has to be small, straight, and on position — send the drawing over and we will plan the tooling, runout, and pecking strategy around the hole, from the machining approach to the inspection that confirms it held size and location.